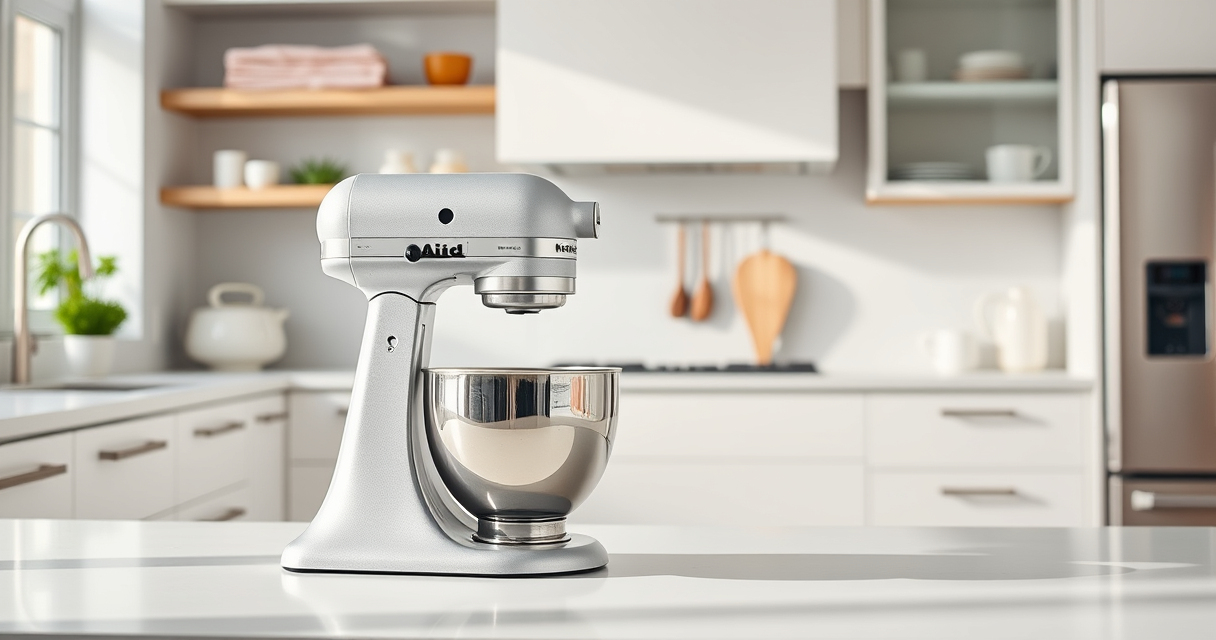

If your KitchenAid Artisan Series 5 Quart Tilt Head Stand Mixer is leaking oil, it can be concerning. Oil leaks may indicate worn or damaged internal parts or improper maintenance. Fortunately, most issues are fixable with careful inspection and proper procedures. This guide will walk you through the common causes of oil leaks and provide clear, safe steps to resolve them, helping your mixer run smoothly again.
Before starting, ensure you have a clean workspace, the correct tools, and some basic mechanical knowledge. If you’re unsure or uncomfortable performing repairs, consider consulting a professional or contacting KitchenAid customer service for assistance.
Key Takeaways
| Identify common causes | Oil leaks often stem from worn seals or improper assembly. |
| Safety first | Always unplug the mixer before inspecting or repairing. |
| Step-by-step fixes | Follow detailed instructions for safe, effective repairs. |
| Prevent future leaks | Regular maintenance and correct assembly help avoid issues. |

KitchenAid Artisan, 5-Qt Tilt Head Stand Mixer, KSM150PS, Milkshake
- Durable Metal Construction: Built to last with 59 touchpoints
- 5-Quart Stainless Steel Bowl: Handles small or large batches, dishwasher safe
- Tilt-Head Design: Easy ingredient addition and bowl access
As an affiliate, we earn on qualifying purchases.
Understanding Why Your Mixer Leaks Oil
KitchenAid stand mixers like the Artisan Series 5 Quart Tilt Head are built for durability, but internal components can wear over time. The most common cause of oil leaks is the deterioration or failure of internal seals, such as the gear case seal. These seals prevent lubricant from escaping but can degrade due to age, overuse, or improper assembly. Additionally, overfilling the gearbox with lubricant or using incorrect types can lead to leaks. Recognizing the signs early—such as oil pooling under the mixer or a persistent dripping—can help you address the issue before more serious damage occurs.

KitchenAid KSMMGA Food Grinder Attachment for All KitchenAid Stand Mixers
- Compatible with KitchenAid Mixers: Connects to any KitchenAid stand mixer
- Versatile grinding plates: Includes fine, medium, and coarse plates
- Sausage stuffer tubes: Comes with two sausage stuffer tubes
As an affiliate, we earn on qualifying purchases.
Preparation and Safety Measures
- Unplug the mixer from the power outlet to prevent electrical hazards.
- Place the mixer on a stable, clean workspace with ample lighting.
- Gather necessary tools: screwdrivers, pliers, a clean cloth, and replacement seals or lubricant if needed.
- Review your mixer’s manual for specific disassembly instructions.
Remember, safety is paramount. Never attempt repairs while the mixer is plugged in or if you’re unsure about any step.
Step-by-Step Fix for Oil Leaking
- Remove the attachment hub cover by unscrewing it carefully. This exposes the gear housing.
- Using a screwdriver, detach the screws securing the gear case cover. Keep track of all parts for reassembly.
- Gently lift the cover to reveal the internal gears and seals. Inspect the seals for cracks, tears, or signs of wear.
- If seals are damaged, remove them carefully using pliers or a seal removal tool.
- Clean the gear case thoroughly with a cloth to remove old lubricant and debris.
- Apply a suitable lubricant as recommended by KitchenAid, or replace the seals if necessary.
- Reassemble the gear case in reverse order, ensuring all screws are tightened securely.
- Replace the attachment hub cover and test the mixer for leaks by running it briefly without attachments.
If the leak persists, repeat inspection or seek professional assistance.
Tips for Preventing Future Leaks
- Use the recommended lubricant and avoid overfilling the gear case.
- Regularly clean the mixer and inspect seals for early signs of wear.
- Ensure the mixer is assembled correctly after any maintenance or cleaning.
- Follow the manufacturer’s guidelines for use and maintenance.
Proper care extends the life of your mixer and minimizes the risk of leaks and costly repairs.
When to Seek Professional Help
If after following these steps the leak continues or you feel unsure about disassembly, contact KitchenAid customer support or a qualified appliance repair technician. Internal repairs involving gear replacements or seal installation can be complex and require specialized tools and skills. Professional repairs might cost more but ensure safety and proper functioning of your mixer.
The Products in This Guide

KitchenAid Artisan Series 5 Quart Tilt Head Stand Mixer
- ✔ Weight: 26 lbs
- ✔ Dimensions: 14 x 8 x 14 inches
- ✔ Warranty: One Year

KitchenAid Stand Mixer Attachment
- ✔ Weight: 3 lbs
- ✔ Dimensions: 8 x 6 x 4 inches
- ✔ Warranty: N/A
KitchenAid Artisan Series 5 Quart Tilt Head Stand Mixer
The KitchenAid Artisan Series 5 Quart Tilt Head Stand Mixer is built with sturdy metal construction and features 59 touchpoints for thorough mixing. Its tilt-head design provides easy access to the bowl, and the 10-speed settings cover nearly any recipe need. While it’s generally reliable, occasional oil leaks can occur due to internal seal wear, which can be fixed with proper troubleshooting.
Pros:
- Heavy-duty metal construction
- Easy tilt-head access
- Multiple speed options
- Large 5-quart capacity
Cons:
- Potential for internal seal leaks
- Requires some disassembly for repairs
- Can be heavy to move
Best for: Heavy baking, large batches, frequent use
Not ideal for: Occasional small repairs or minimal use
Bottom line: A robust mixer capable of handling large batches, with simple steps to fix minor leaks.
KitchenAid Stand Mixer Attachment
Enhance your KitchenAid stand mixer with the Metal Food Grinder attachment. It connects easily to the power hub and allows you to grind meats, vegetables, and more with precision. Made of durable metal, it’s ideal for those looking to make fresh, homemade food effortlessly.
Pros:
- Made of sturdy metal
- Multiple grinding plates included
- Easy to attach and clean
- Large food tray
Cons:
- Additional cost
- Requires separate purchase
- Cleaning may be time-consuming
Best for: Fresh grinding for recipes, meat prep, food processing
Not ideal for: Light-duty grinding or occasional use
Bottom line: A durable attachment perfect for fresh grinding needs, expanding your mixer’s versatility.
Frequently Asked Questions
Can I use any lubricant to fix the oil leak?
No, it’s important to use a lubricant recommended by KitchenAid or the manufacturer’s guidelines to ensure compatibility and proper sealing.
How often should I inspect seals for wear?
It’s advisable to check seals every 6-12 months if you use the mixer frequently, especially before heavy baking sessions.
Is repairing the oil leak complicated?
It can be straightforward if you follow the proper steps and have the right tools, but complex repairs involving gear replacements are best handled by professionals.
Will fixing the oil leak void my warranty?
Disassembling your mixer may void the warranty if not done according to manufacturer instructions. Check your warranty terms before proceeding.
What should I do if the leak persists after repair?
If leaks continue, contact KitchenAid customer support or a certified repair technician for further assistance.
Keep Your KitchenAid Running Smoothly
Owning a KitchenAid stand mixer like the Artisan Series 5 Quart provides years of reliable service, especially with proper maintenance. Addressing oil leaks promptly by inspecting seals and following safe repair steps can save you time and money. Remember to use recommended lubricants, avoid overfilling, and perform regular maintenance checks. When in doubt, professional repair services can ensure your mixer stays in top condition, allowing you to focus on creating delicious recipes without interruptions.
Affiliate disclosure: As an Amazon Associate we earn from qualifying purchases. Prices and availability are accurate as of the time of publishing.

![Bukit Bintang Hicks Flat: DBKL Orders Cleanup After Viral Video Exposes Dirty Conditions [WATCH] - NST Online](https://thesmartsous.com/wp-content/uploads/2026/08/bukit-bintang-hicks-flat-dbkl-orders-cleanup-after-viral-video-exposes-dirty-con-featured-560x300.jpg)