
To master gluten-free baking in a bread maker, choose high-quality flour blends with stabilizers like xanthan gum to mimic gluten’s structure. Use the right kneading cycle and avoid overmixing, as gluten-free dough is more batter-like. Guarantee proper rising by keeping the lid closed during proofing. Pay attention to dough consistency and adjust with liquids or flour as needed. For more detailed tips, keep exploring proven techniques to get consistently delicious gluten-free bread.
Key Takeaways
- Use specialized gluten-free flour blends with stabilizers like xanthan gum for better structure.
- Select the gluten-free setting or customize the kneading cycle for optimal dough development.
- Maintain proper dough consistency—moist, cohesive, and not overly sticky—by adjusting liquids or flours as needed.
- Avoid opening the lid during rising to ensure consistent temperature and proper fermentation.
- Scrape down the pan periodically during kneading to ensure even ingredient distribution and air incorporation.

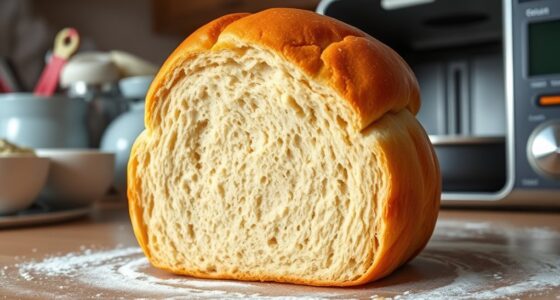
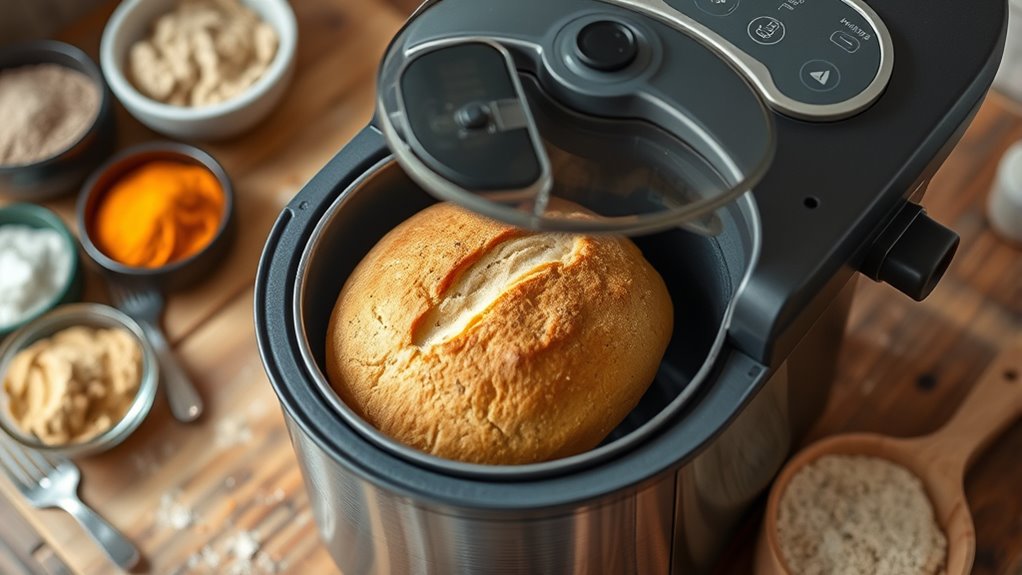
Baking gluten-free bread in a bread maker might seem challenging, but with the right ingredients and techniques, it becomes straightforward and rewarding. The key to successful gluten-free baking lies in selecting the right gluten free flour blends. These blends typically combine rice flour, tapioca starch, potato starch, and sometimes sorghum or millet flour to mimic the elasticity and structure that gluten provides. Using a high-quality blend ensures your bread rises well, has a good texture, and tastes delicious. When choosing your flour blend, look for options specifically formulated for bread or baking, as they often contain added stabilizers or binders like xanthan gum or guar gum, which help mimic gluten’s properties.
Once you’ve got your flour blend sorted, mastering kneading techniques in a bread machine is essential. Unlike traditional kneading, where you work the dough by hand, a bread maker automates this process. However, it’s important to understand how the machine’s kneading cycle works to optimize your results. For gluten-free bread, the kneading process isn’t about developing gluten but rather evenly distributing ingredients and incorporating air into the dough. You want to make certain the ingredients are well combined without overmixing, which can make the bread dense. Many bread makers have a specific gluten-free setting, which adjusts the kneading, rising, and baking times accordingly. If yours doesn’t, you can manually select the best cycle or monitor the process to ensure the dough is adequately mixed but not overworked.
In terms of technique, pay attention to the consistency of your dough. Gluten-free dough is usually more batter-like than traditional bread dough, so it should be moist but not overly sticky. During the kneading cycle, the machine will work to develop a uniform mixture, but you might need to scrape down the sides of the pan periodically or add a little more flour or liquid if the dough seems too dry or too wet. The goal is a smooth, cohesive batter that can hold together when shaped or poured into the pan. After the kneading cycle, avoid opening the lid during rising, as gluten-free dough relies heavily on the initial mix and proper rising conditions for the best texture.

King Arthur Gluten-Free Bread Flour, 1:1 Replacement for Yeasted Recipes, 2 lb (Pack of 1) – Premium GF Flour for Artisan Boules, Bagels, Cinnamon Rolls & Burger Buns – Sorghum & Xanthan Gum
Versatile Replacement: This gluten free flour 1 to 1 substitute for wheat flour can be used in yeasted…
As an affiliate, we earn on qualifying purchases.
As an affiliate, we earn on qualifying purchases.
Frequently Asked Questions
Can I Use Regular Yeast for Gluten-Free Bread?
You can use regular yeast as a yeast substitution in gluten-free bread, but it’s not ideal. Regular yeast isn’t specifically designed for gluten-free baking, so it might not produce the best rise or texture. For better results, use gluten-free yeast or a specialized gluten-free leavening agent. This guarantees your bread rises properly and has the right consistency, making your gluten-free baking experience more successful.
How Do I Prevent the Bread From Crumbling?
To prevent your gluten-free bread from crumbling and achieve a better gluten-free crumb, make sure you’re using the right flour blend with added xanthan or guar gum for structure. Measure ingredients precisely, and avoid overmixing. Using eggs or flaxseed can improve elasticity, resulting in a softer bread texture. Also, let the bread cool completely before slicing to maintain its shape. These steps help create a more cohesive crumb and prevent crumbling.
What Is the Best Gluten-Free Flour for Bread Machines?
Think of gluten-free flour as your bread’s secret sauce—choose wisely. The best gluten-free flour for bread machines often combines gluten-free blends like rice, tapioca, and potato starch, offering a balanced structure and moist crumb. Flour substitutions vary, so experiment with different blends until you find one that works perfectly. Your bread will rise like a symphony when you select quality gluten-free blends tailored for bread machines.
How Long Should I Knead Gluten-Free Dough?
You should knead gluten-free dough for about 5-8 minutes, focusing on proper dough hydration and gentle kneading techniques. Unlike traditional bread, gluten-free dough doesn’t require extensive kneading; instead, you want to mix until ingredients are well combined and the dough is slightly sticky. Use a spatula or paddle attachment, and avoid over-kneading, which can affect texture. Pay attention to hydration levels to make sure your bread turns out soft and well-structured.
Can I Add Seeds or Nuts to Gluten-Free Bread?
Did you know that adding seed toppings and nut additions can boost your gluten-free bread’s nutritional value? Yes, you can definitely add seeds or nuts to your gluten-free bread dough. Just fold them in gently after kneading, and for seed toppings, sprinkle some on top before baking. Keep in mind, nuts and seeds add crunch and flavor, making your bread more delicious and wholesome.

It's Just – Xanthan Gum, 8oz, Batch Tested Gluten Free, Keto Baking, Non-GMO, Thickener for Sauces, Soups, Dressings, Packaged in USA
It's Just – Xanthan Gum, 8oz, Batch Tested Gluten Free, Keto Baking, Non-GMO, Thickener for Sauces, Soups, Dressings,…
As an affiliate, we earn on qualifying purchases.
As an affiliate, we earn on qualifying purchases.
Conclusion
With a little patience and practice, your gluten-free bread baking becomes a breeze. Remember these tips to tame your bread maker and triumph in your tasty, tender treats. Keep experimenting, and soon you’ll be savoring sensational, satisfying slices. Stay steadfast, stay successful, and let your gluten-free baking journey be joyful and justified. Happy baking!
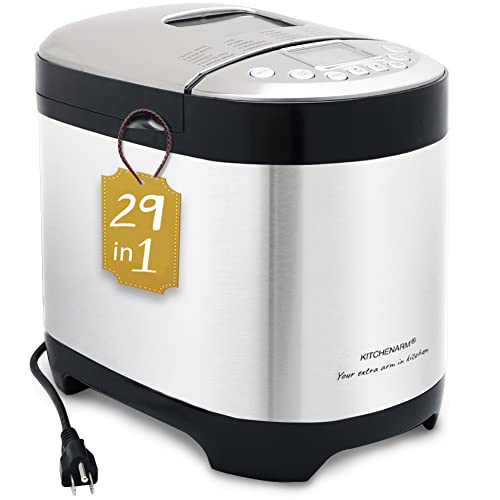
KITCHENARM 29-in-1 SMART Bread Machine with Gluten Free Setting 2LB 1.5LB 1LB Bread Maker Machine with Homemade Cycle – Stainless Steel Breadmaker with Recipes Whole Wheat Bread Making Machine
29-in-1 SMART BREAD MACHINE FOR NEWBIES & PROS – Your healthy homemade bread is just clicks away: pick…
As an affiliate, we earn on qualifying purchases.
As an affiliate, we earn on qualifying purchases.
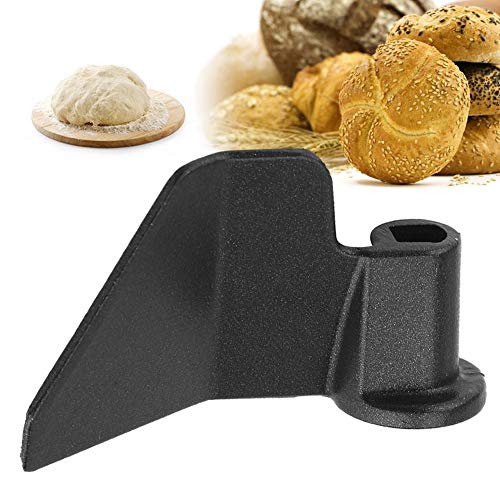
Stainless Steel Bread Maker Kneading Blade Replacement – Mixing for Most Bread Makers
AND The bread machine kneading paddle is made of high quality non-stick coating + carbon steel material, which…
As an affiliate, we earn on qualifying purchases.
As an affiliate, we earn on qualifying purchases.