
To properly clean and maintain your air fryer, first unplug it and let it cool completely. Remove all accessories like the basket and trays, wash them with warm, soapy water, and dry thoroughly. Wipe the interior and exterior surfaces with a damp cloth, paying close attention to the heating element. Reassemble everything once dry. Establish a routine to clean these parts regularly to keep your air fryer performing safely and efficiently—stick around for more detailed tips.
Key Takeaways
- Unplug and cool the air fryer before cleaning to ensure safety and prevent damage.
- Remove and soak accessories, then clean with non-abrasive tools, rinsing thoroughly and drying before reassembly.
- Wipe interior and exterior surfaces with damp cloth, avoiding excess moisture, and clean the heating element gently.
- Establish a regular cleaning schedule: after each use for accessories, weekly for interior, to prevent buildup.
- Ensure all parts are dry before reassembling to maintain performance, safety, and extend the appliance’s lifespan.

Extra Large Silicone Trivet drying mat for kitchen counter Gray 2 Pack
Premium Food-grade Silicone: The silicone pot holders heat resistant made non-slip food-grade durable flexible silicone material. Heat resistant...
As an affiliate, we earn on qualifying purchases.
Unplugging and Preparing Your Air Fryer for Cleaning
Before you begin cleaning your air fryer, it’s essential to unplug it and let it cool down completely. This prevents any risk of electrical shock or burns. Once cooled, remove any air fryer accessories, such as racks or trays, to make cleaning easier. Gather your cleaning tools, like soft sponges, non-abrasive brushes, and microfiber cloths, to avoid damaging the surfaces. Confirm you have a gentle dish soap ready for cleaning. Disconnecting and prepping your air fryer helps you access all areas and reduces the chance of damaging delicate components. Taking these initial steps sets a safe, efficient foundation for thorough cleaning, ensuring your appliance remains in top condition and ready for use. Additionally, inspecting the material choice of your air fryer surfaces can help prevent damage during cleaning. Regular maintenance, including proper cleaning, supports the longevity of your appliance and maintains optimal performance. To further protect your appliance, be mindful of cleaning techniques that are suitable for the specific brand and model. Proper cleaning schedule can also help prevent buildup and ensure consistent performance over time. Moreover, understanding the regulatory standards for appliance safety can guide you in using appropriate cleaning methods that won’t void your warranty.

LINE+ARC Extra Thick Silicone Trivets (Featured in ELLE Decor & BuzzFeed) Waterproof Dishwasher-Safe Stain Resistant (Set of 3 Smoke Degrē Trivets) Outdoor Rubber Gray Coffee Mid-Century Modern
CRITICS ARE OBSESSED — The Degrē Collection has been featured by NYT Wirecutter, Glamour, FOOD & WINE, ELLE...
As an affiliate, we earn on qualifying purchases.
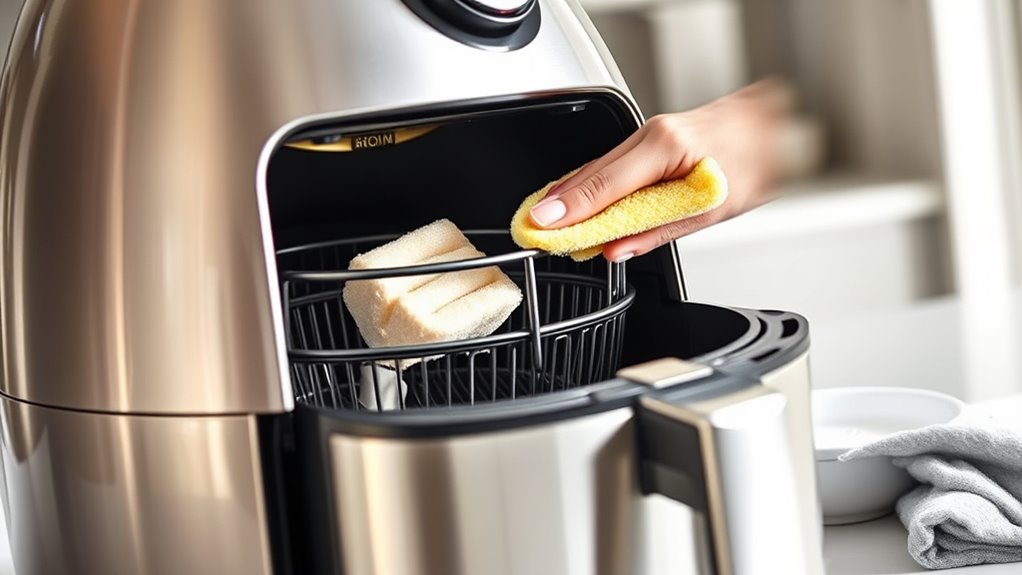
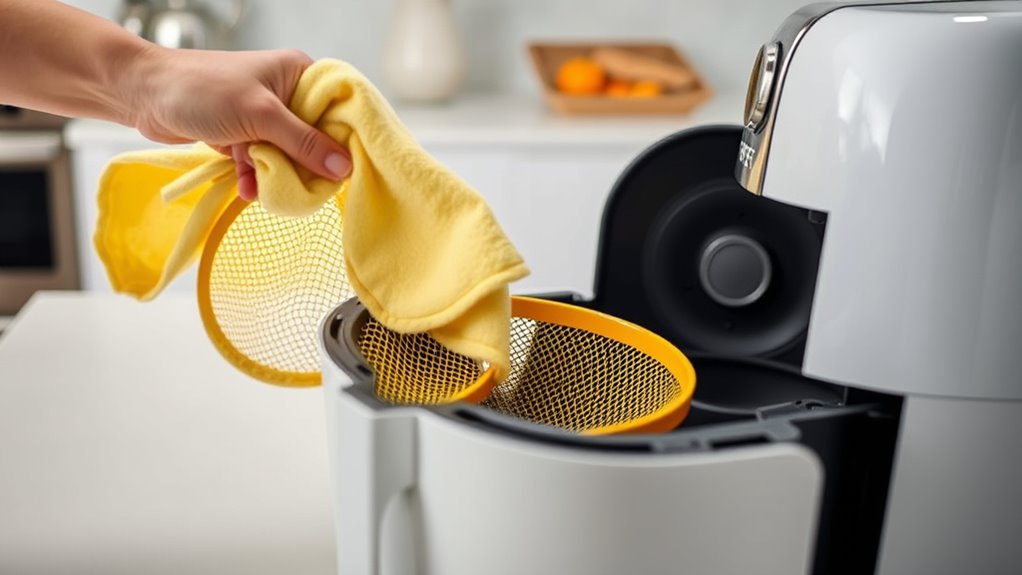
Removing and Washing the Removable Components
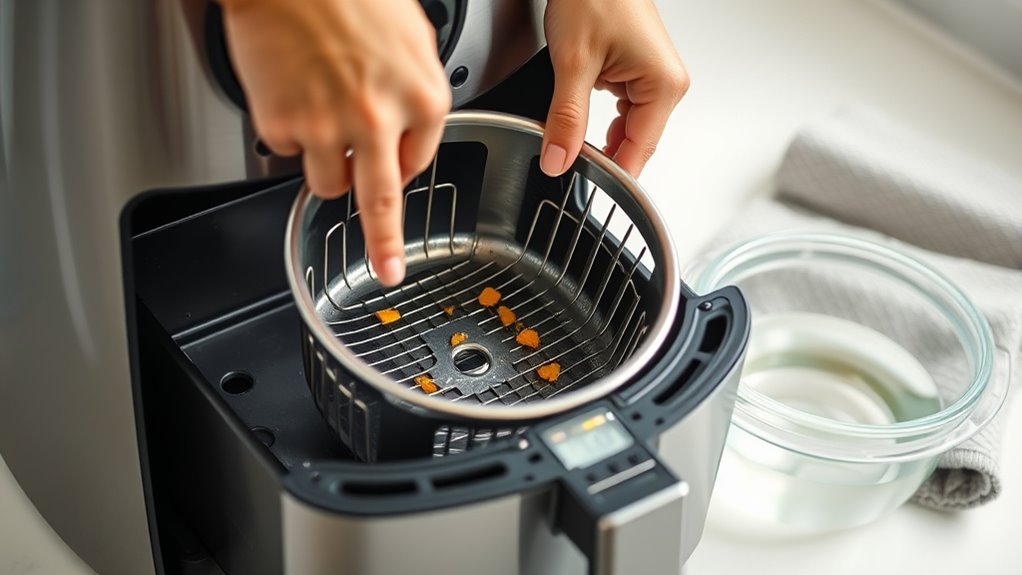
To effectively clean your air fryer, start by removing all removable components, such as the basket, tray, and racks. These removable parts are where grease and food particles tend to accumulate, so washing them thoroughly is essential. Use warm water and a mild cleaning solution or dish soap to soak and loosen any stuck-on residue. For stubborn spots, a non-abrasive sponge or brush works best. Rinse the parts well to remove any soap residue, then dry them completely before reinstalling. Properly cleaning and drying these components helps prevent odor buildup and ensures your air fryer stays in top condition. Regular maintenance of your removable parts keeps your appliance functioning efficiently and prolongs its lifespan. Additionally, understanding the evolving language of the internet can help you stay informed about new cleaning techniques and product recommendations. Incorporating proper cleaning techniques from trusted sources can further enhance your maintenance routine and ensure optimal performance. Staying updated on new cleaning products can also help you choose the most effective solutions for your appliance. Remember to follow manufacturer guidelines to avoid damaging sensitive parts and to maintain warranty coverage. Being aware of safe cleaning practices can further prevent accidental damage and extend the life of your air fryer.

MicoYang Silicone Dish Drying Mat — Quick-Dry Ridges Counter & Sink Pad, Heat-Resistant Trivet to 450°F, Non-Slip & Dishwasher Safe, Roll-Up Storage, 18 Colors & 9 Sizes (Tapioca, 16"×12")
NO MORE SOGGY COUNTERS — Raised ridges lift dishes for fast airflow. Tilt toward sink, water drains off....
As an affiliate, we earn on qualifying purchases.
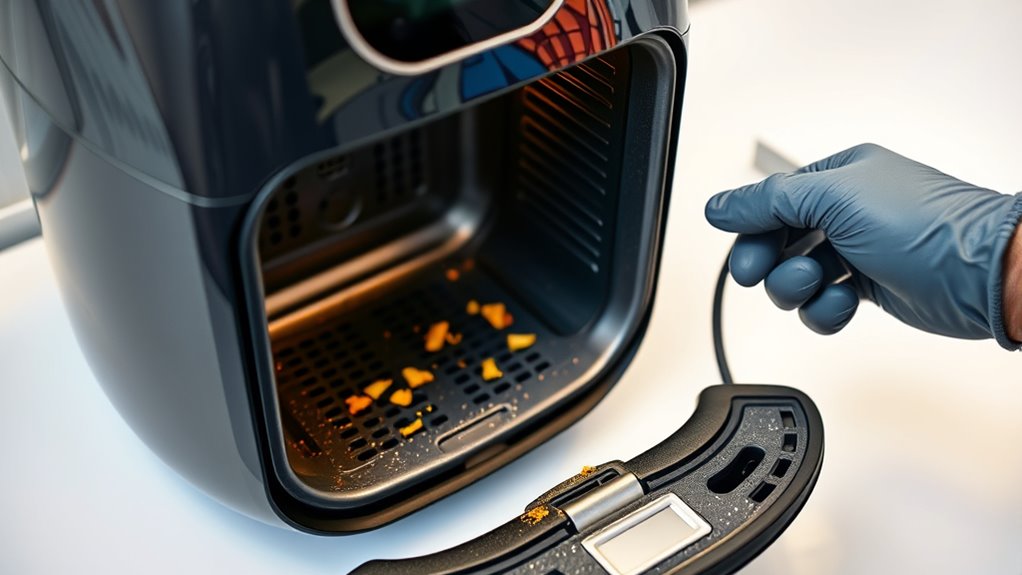
Cleaning the Interior and Heating Element

Cleaning the interior and heating element is essential for maintaining your air fryer’s performance. Regular cleaning guarantees optimal heat distribution, which directly impacts air fryer longevity. Start by unplugging your appliance and letting it cool. Use a damp cloth to wipe down the interior, removing any food residue or grease. For the heating element, inspect it carefully for buildup or debris that could impair efficiency. Use a soft brush or cloth to gently clean the heating element, avoiding abrasive materials. Check for any signs of damage or corrosion during inspection. Keeping these parts clean helps prevent overheating and guarantees even cooking. Incorporating a routine cleaning schedule can help maintain consistent performance and extend the lifespan of your appliance. Additionally, understanding heat distribution can help you troubleshoot uneven cooking and optimize your air fryer’s effectiveness. Regularly cleaning and inspecting the heating element also supports the safety of your appliance by reducing fire hazards and electrical issues. To ensure thorough maintenance, consider consulting your air fryer’s user manual for specific cleaning instructions and recommendations.

Walfos Silicone Trivet Mats - 4 Heat Resistant Pot Holders, Multipurpose Non-Slip Hot Pads for Kitchen Potholders, Hot Dishers, Jar Opener, Spoon Holder, Food Grade Silicone & BPA Free (Black)
NON-SLIP AND HIGH HEAT RESISTANT: These trivets for hot dishes are heat-resistant from -104℉ to 446℉, Protect your...
As an affiliate, we earn on qualifying purchases.
Wiping Down the Exterior and Control Panel
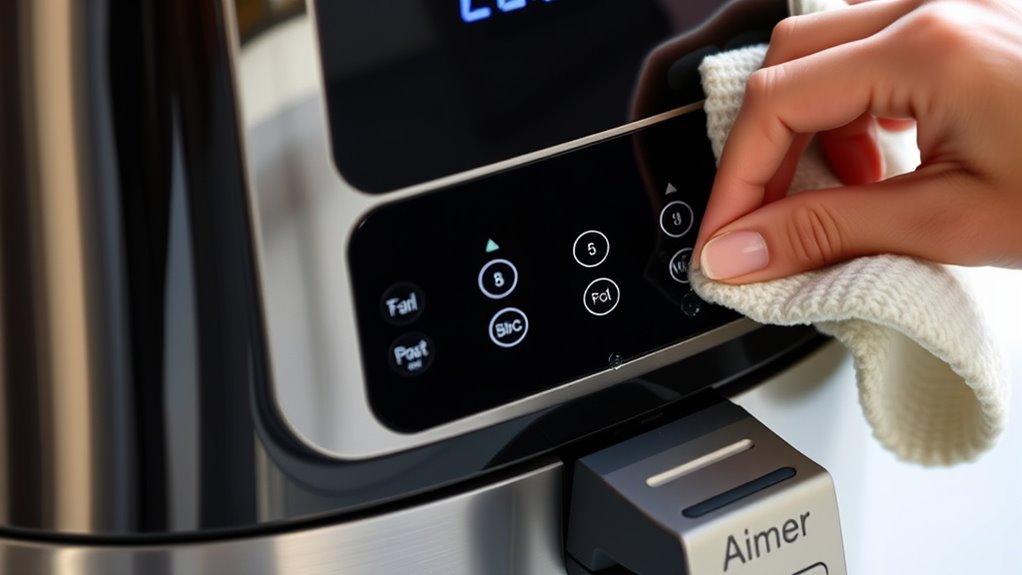
Wiping down the exterior and control panel is a quick and effective way to keep your air fryer looking new and functioning properly. Regular exterior maintenance prevents dust, grease, and fingerprints from building up, which can affect its appearance and performance. Use a damp cloth with a gentle soap or a mild cleaning spray to clean the outside surfaces, avoiding harsh abrasives that could damage the finish. For control panel care, ensure you use a soft cloth to gently wipe buttons and display areas, avoiding excess moisture that might seep into electronics. This routine keeps your appliance hygienic and helps maintain its sleek look. Remember, consistent wiping prevents dirt buildup and ensures your air fryer remains in top condition for daily use. Additionally, understanding the importance of Free Floating designs can help you better appreciate your appliance’s sleek and modern appearance. Regular cleaning not only prolongs the lifespan of your air fryer but also supports its safety and efficiency, ensuring optimal performance over time. Incorporating preventative maintenance practices can further extend the life of your device and prevent potential issues before they arise. Performing routine inspections can help identify early signs of wear or damage, keeping your air fryer operating smoothly. Maintaining a clean exterior also reduces the risk of contamination that could affect food safety during cooking.
Drying and Reassembling Your Air Fryer
Make sure your air fryer parts are thoroughly dry before reassembling to prevent any moisture issues. Use a clean towel or air dry to guarantee all components are free of water. When putting everything back together, double-check that each piece fits securely for safe operation. Ensuring your air fryer is dry and organized can help maintain its longevity and performance. Additionally, proper air circulation during drying can help prevent mold or bacteria growth inside the appliance. Incorporating smart home ventilation practices can further enhance drying efficiency and hygiene. Implementing proper maintenance schedules based on manufacturer guidelines can also extend the lifespan of your air fryer.
Proper Drying Techniques
After thoroughly cleaning your air fryer, it’s essential to dry all components completely before reassembling. This prevents air fryer moisture from causing rust, mold, or unpleasant odors. Use a soft, lint-free cloth to wipe down all parts, paying special attention to corners and crevices. For thorough drying, leave the components in a warm, well-ventilated area or use a clean towel to absorb excess moisture. Making sure everything is dry helps maintain proper storage techniques and keeps your appliance in top condition. Remember, lingering dampness can compromise the air fryer’s performance and longevity. Taking the time to dry each piece correctly ensures your air fryer stays clean, safe, and ready for its next use. Proper drying is key to effective maintenance and best results.
Safe Reassembly Practices
Once all components are thoroughly dried, you can begin reassembling your air fryer with confidence. Safe reassembly guarantees the appliance functions properly and reduces the risk of damage. Start by carefully fitting the basket and tray into their designated slots, making sure they connect securely for proper connection. Next, reattach the heating element and any removable parts, verifying they click or lock into place. Avoid forcing components, as improper connection can cause malfunctions. Double-check that all parts are aligned correctly and fully seated. Before plugging in your air fryer, ensure everything is dry and correctly assembled. This careful process guarantees safe reassembly, peak performance, and extends your appliance’s lifespan. Following these steps helps prevent issues and keeps your air fryer running smoothly.
Establishing a Regular Cleaning Schedule
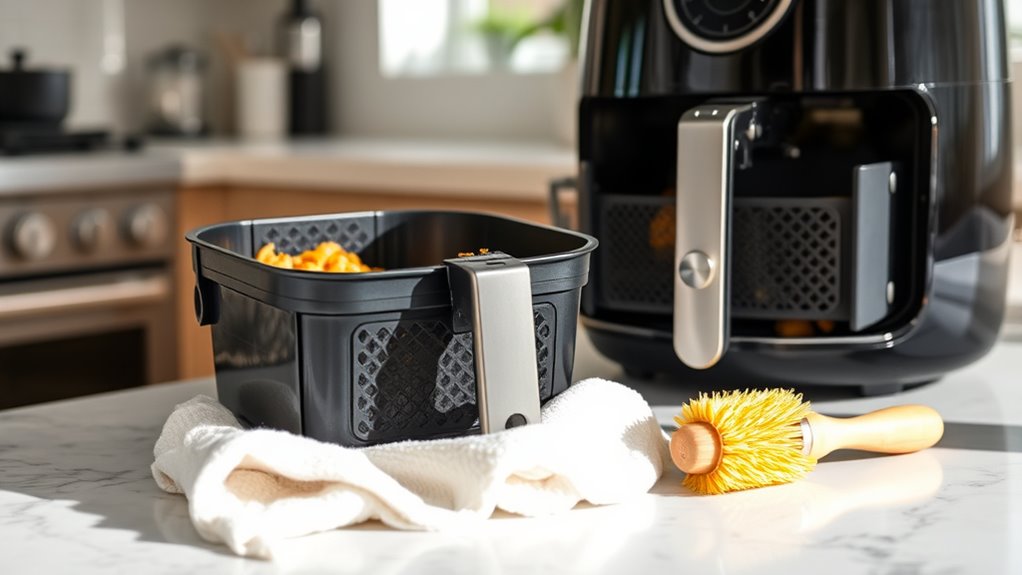
Creating a regular cleaning schedule for your air fryer helps maintain it functioning efficiently and guarantees your food always tastes fresh. By setting a consistent cleaning frequency, you prevent grease buildup and ensure ideal performance. Use a maintenance checklist to stay organized and avoid forgetting essential tasks. Regular cleaning also prolongs your air fryer’s lifespan.
Consider these points:
- Determine how often you need to clean based on usage
- Clean the basket and tray after each use
- Wipe down the interior weekly
- Check for any crumbs or grease buildup
- Replace or clean filters as recommended
Sticking to this schedule keeps your appliance in top shape and ensures every meal is delicious. Consistency is key to hassle-free, effective maintenance.
Tips for Maintaining Optimal Performance

Maintaining your air fryer’s peak performance requires more than just regular cleaning; it also involves mindful practices during operation. Always inspect your air fryer accessories, like baskets and trays, for buildup or damage, and clean them regularly to prevent issues. Adjust your cleaning frequency based on how often you use the appliance—more frequent cleaning keeps it running smoothly. Avoid overcrowding the basket, which can hinder airflow and cause uneven cooking. Use gentle cleaning tools to prevent scratching surfaces. Additionally, ensure you dry all parts thoroughly before use to prevent rust or mold. By paying attention to these details, you’ll extend your air fryer’s lifespan and keep it performing at its best with minimal effort.
Frequently Asked Questions
Can I Use Abrasive Cleaners on My Air Fryer?
No, you shouldn’t use abrasive cleaners on your air fryer. They can damage the non-stick coating and other surfaces, making it unsafe and harder to clean in the future. Instead, stick to safe cleaning methods like gentle dish soap, warm water, and soft sponges or cloths. Using proper cleaning techniques helps maintain your air fryer’s performance and longevity without risking damage from harsh abrasives.
Is It Safe to Put the Interior in the Dishwasher?
Think of your air fryer as a delicate treasure chest. While it might seem tempting, placing the interior in the dishwasher isn’t safe because of dishwasher safety issues and potential damage. For thorough interior cleaning, use a soft cloth or sponge with mild soap. This maintains the unit’s integrity and ensures safe, effective interior cleaning, keeping your air fryer in top shape for delicious, healthy meals.
How Often Should I Replace the Air Fryer’s Filter?
You should replace your air fryer’s filter every 6 to 12 months, depending on your usage and the manufacturer’s recommendations. Regular filter replacement is a key part of your maintenance schedule, ensuring peak performance and air quality. Keep an eye on signs like reduced airflow or lingering odors, and don’t hesitate to replace the filter when needed. This simple step helps prolong your air fryer’s lifespan and keeps it functioning efficiently.
What Should I Do if the Heating Element Stops Working?
Think of your air fryer like a trusty steed—if the heating element stops working, you need to act fast. First, perform heating element troubleshooting by unplugging and inspecting for visible damage or debris. If unresolved, follow the replacement procedures outlined in your manual, ensuring safety and proper fit. If you’re unsure, contact a professional to avoid further damage and get your air fryer back to cooking like new.
Can I Use Metal Utensils Inside My Air Fryer?
You can use metal utensils inside your air fryer, but be cautious. Metal tools may scratch the non-stick coating, reducing its effectiveness and potentially releasing harmful particles. To avoid damage, opt for silicone, wooden, or plastic utensils whenever possible. If you must use metal, do so gently and avoid scraping. Regularly inspect the non-stick surface for signs of wear, and replace utensils that could cause scratches.
Conclusion
By sticking to a regular cleaning routine, you’ll keep your air fryer running smoothly and tasting great every time. Don’t let grime build up and turn your appliance into a lost cause. With a little effort, you’ll extend its lifespan and get the most out of your investment. Remember, a clean air fryer is a happy air fryer, so don’t wait until it’s too late—stay on top of maintenance and keep things running like clockwork.