TL;DR
Air fryers with digital displays use electronic controls to set cooking time and temperature, and many add presets or prompts. The screen can make settings easier to read, but it does not guarantee better cooking: capacity, airflow, food quantity, and usable basket space matter more. Check the manual, leave room for ventilation, and avoid crowding food if you want an even, crisp result.
You tap a button for fries, hear the fan whirr, and watch the display count down. The first batch comes out pale and soft. A screen can make an air fryer feel easy to use, but it can’t rescue an overcrowded basket or guess how thickly you cut the potatoes.

Get kitchen gear delivered free with Prime
- Fast, free delivery on millions of items
- Prime Video, Amazon Music and more included
- Member-only deals all year
Air fryers with digital displays use electronic controls to set time and temperature, sometimes with presets for familiar foods. This guide explains what the display does, how presets fit into everyday cooking, and which details deserve your attention before you buy. You’ll also get practical tips for better browning, easier cleaning, and safer placement on your counter.
A digital display shows settings and may add presets or prompts; it doesn’t guarantee better cooking or Wi-Fi connectivity.
Use presets as starting points, then check food and adjust for portion size, cut, and brand.
For crisp results, give hot air room to circulate and cook crowded batches in smaller portions.
Compare usable basket area, counter clearance, screen readability, and cleaning instructions before buying.
Follow the appliance manual for preheating, placement, ventilation, and care.
See what the screen controls—and what it doesn’t
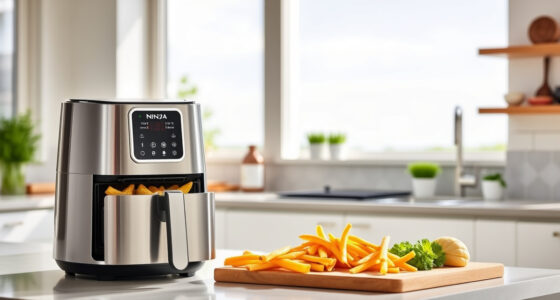
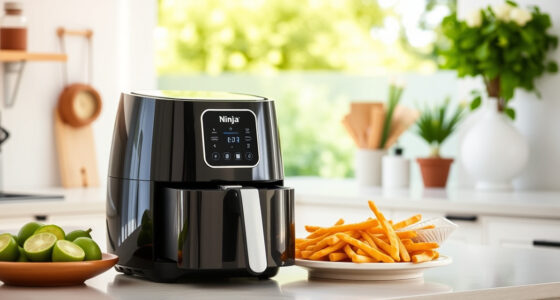
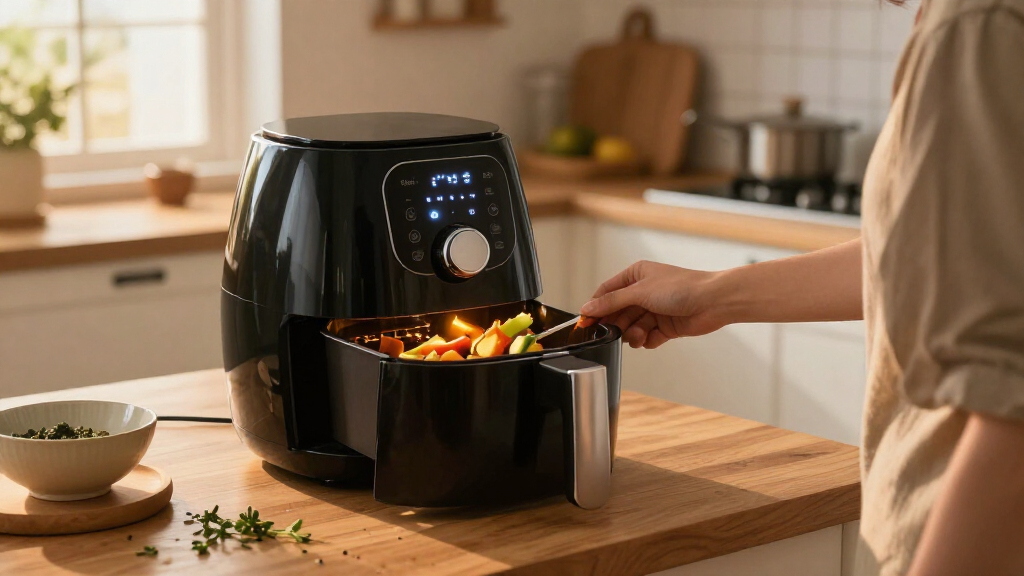
An air fryer with a digital display uses electronic controls, such as buttons or a touchscreen, to set cooking time and temperature. The screen shows your chosen settings and may offer food presets or prompts. It doesn’t tell you that the appliance cooks better than a manual model.
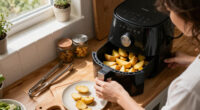
Most air fryers cook by moving hot air around food in a compact chamber. That’s why a thin layer of fries can turn golden while a stuffed basket stays limp in the middle: the air needs room to move. Think of the screen as a clear dashboard, while the chamber and airflow do the cooking.
For example, you might set 200°C for a small batch of frozen wedges, then add time after checking their color. Another model may use a dial alongside its screen. When you compare air fryers with electronic controls, check whether you can easily change settings mid-cook and read the display from where the appliance will sit. This matters most when you tend to adjust food as it cooks: a clear, reachable panel makes those corrections easier, while a hard-to-read screen can turn a simple check into guesswork. The convenience is about controlling the process; the appliance’s size, airflow, and heating design still shape the result.
A display tells you what you set; the food tells you when it’s done.
Products Worth Considering

Traeger Pro 22 Wood Pellet Grill & Smoker

KitchenAid 13-Cup Food Processor, KFP1318, Contour Silver

Le Creuset Enameled Cast Iron Rectangular Roaster, 5.25 qt, Riviera
As an affiliate, we earn on qualifying purchases.
Use presets as a starting point, not a promise
Presets are shortcuts that apply a suggested time and temperature for foods such as fries, chicken, fish, or vegetables. They save you from entering settings each time, but they can’t account for every brand, portion size, or cut. Treat them as a first guess and check the food as it cooks. A preset is most useful when you repeat a similar batch in the same appliance; over time, you can learn whether that starting point suits your portions and adjust it consistently.
Say you drop a handful of thin frozen fries into a basket and choose the fries preset. They may cook faster than a full basket of thick-cut fries. If you follow the same program blindly, the smaller batch may dry out or the larger one may stay soft. That difference comes from both the food and how much hot air can reach it, so the preset cannot compensate for a crowded basket. A shake reminder can help redistribute food and expose new surfaces, though not every recipe needs shaking.
That flexibility also matters when cooking something the panel doesn’t name. You can set a time and temperature for zucchini slices, for example, and adjust after seeing how quickly their edges brown. Presets help with repetition; they don’t replace the recipe, the manual, or a quick visual check. This leaves you in control when a food or portion differs from the preset’s assumptions, at the cost of checking and adjusting instead of pressing one button and walking away.
- Check the food’s own directions, especially for frozen meals.
- Inspect early when testing an unfamiliar preset or portion.
- Adjust time in small increments if the food needs more browning.
Choose a basket that fits your real meals
Usable cooking area matters more than an advertised capacity number when you want food to brown evenly. A basket can hold a large volume while still being too crowded for a crisp single layer. Look at the food you actually cook and how much room it occupies when spread out. Capacity can suggest how much fits inside, but it doesn’t tell you whether hot air can reach the surfaces that need browning. A basket that is easy to fill to the top may still require smaller batches for crisp results.
For instance, if you regularly make a side dish for two, a broad basket may work better than a tall, narrow one. Its wider base can make it easier to spread food out, though it still needs enough clearance around the food for airflow. If you cook chicken and vegetables at once, a dual-basket model can separate foods that need different settings. The tradeoff is that each compartment has less space, so bulky foods may need to be cut smaller or cooked separately. Oven-style models offer racks and trays, but their footprint and cleanup can take more space.
Measure your counter before buying, including clearance to open a front door or pull out a basket. A larger unit may sound handy until it blocks a cupboard or sits too close to a wall. Check the manufacturer’s placement guidance and leave the vents clear so hot air can escape. Placement affects everyday use as well as safety: a unit that is awkward to open or leaves no room around its vents may be harder to use properly, even if its stated capacity looks attractive.
| Type | Works well for | Check before buying |
|---|---|---|
| Basket-style | Smaller portions and quick snacks | Basket width and removable parts |
| Oven-style | Racks, trays, or larger batches | Counter footprint and door clearance |
| Dual-basket | Two foods or settings at once | Space in each compartment |
Get crisp results with a few simple habits
Even browning starts with space around the food, because hot air can’t circulate well through a tightly packed basket. Dry surfaces when the recipe allows, arrange food in a single layer where practical, and turn or shake it if the directions call for that. These small steps often matter more than picking a preset. The tradeoff is that a smaller batch may take another round, but separating the food gives heat access to more of its surface and usually makes browning more even.
Imagine making fresh potato wedges after work. If you pile them high while still damp, the surfaces can steam before they brown. Patting them dry and cooking a smaller batch gives the fan more access to each wedge, with a faint crackle and browned edges instead of a soft, crowded pile. With food spread out, you can also see more of it when checking progress, so color provides a clearer cue for whether to add time.
Preheating depends on the model and recipe; follow the manual rather than assuming every fryer needs it. Preheating may help when a recipe calls for a hot cooking surface from the start, but adding an unnecessary step costs time and energy. Use heat-resistant surfaces and handle the basket or tray carefully, since metal parts become hot. Check doneness instead of relying only on a countdown, especially when food pieces vary in thickness: a timer tracks elapsed time, while the thickest piece may still need longer.
- Read the recipe and appliance manual for temperature and preheating guidance.
- Arrange food with room for airflow; cook in batches if needed.
- Shake or turn food when appropriate, then check color and doneness.
- Use suitable heat-resistant protection when removing hot parts.
Compare cleaning, controls, and counter space
A good fit is easy to operate, clean, and place in your kitchen. Compare whether the screen uses buttons or touch controls, whether you can read it at a glance, and how simply you can change time or temperature. A flashy panel may matter less than a basket you can wash without scrubbing crumbs out of tight corners. If controls are awkward, you may avoid checking or changing settings; if cleanup is difficult, frequent use can become a chore. These everyday details affect whether the appliance’s features are useful in practice.
Picture dinner cleanup after roasting salmon and vegetables. Removable parts with clear cleaning instructions make the job less annoying, while a scratched nonstick surface can become a concern if you use metal utensils or abrasive pads. Check the manual for dishwasher guidance; hand washing may help protect some coatings. Cleaning access also matters for performance over time: food residue can collect in hard-to-reach places, so easy-to-remove parts make regular care more manageable.
Also listen for the fan if your kitchen is open to a living room, and check where the appliance vents. A keep-warm mode, delayed start, app control, or voice control may be useful for some households, but a digital screen alone doesn’t mean the model connects to Wi-Fi. Features can add convenience, but they may also add cost or controls you rarely use. Verify the exact features and warranty for the product you’re considering.
- Measure the appliance and the space needed to open it.
- Inspect the removable parts for accessible corners and cleaning instructions.
- Check screen readability and the ease of changing settings.
- Confirm included accessories, replacement-part support, and warranty terms.
Know what less oil does—and doesn’t—mean
Air frying can reduce added oil for some foods, but it doesn’t automatically make every meal low-fat or healthy. Frozen fries may need little or no extra oil, while a recipe for breaded vegetables may still call for a light coating to help the crumbs brown. Naturally fatty foods bring their own fat to the basket. The practical difference is that you can choose how much extra oil to add; the appliance’s cooking method doesn’t erase the fat already in the ingredients.
Take two weeknight dinners: plain frozen potato wedges can crisp with very little added oil, while homemade falafel may need a small brush of oil for the surface you want. The result depends on the food and recipe, not the word “air fryer” on the box. If you’re changing a recipe, start with a modest amount and see how the texture turns out. Too little oil can leave some coatings dry or pale, while more oil may improve browning but also adds fat, so the right amount depends on the texture you want.
Combination models may add baking, roasting, grilling, dehydrating, or other functions. Names and capabilities differ by product, so read the manufacturer’s specifications instead of assuming every mode behaves the same. The screen can make those options easier to select, but you still need the right tray, spacing, and instructions for the food. Extra modes can be useful if they replace appliances or methods you already use; otherwise, they may add features without changing your routine.
Less added oil is a cooking option, not a health guarantee.
Frequently Asked Questions
What does a digital air fryer display do?
It shows settings such as time and temperature, and may offer presets or prompts. The display doesn’t by itself mean the fryer cooks better or connects to the internet.
Are digital air fryers better than manual ones?
Digital controls can make settings easier to read and repeat, while manual controls may feel simpler. Cooking results depend more on design and use, including airflow and how full the basket is.
Do I need to preheat an air fryer?
Not always. Follow the model’s manual and the recipe, since some foods benefit from preheating and others don’t need it.
Can I cook frozen food in an air fryer?
Usually, yes. Follow the package directions where they apply, avoid overfilling the basket, and check that the food is done instead of trusting a preset alone.
Why is my air-fried food not crispy?
Common causes include overcrowding, wet surfaces, short cooking time, or limited airflow. Try a smaller batch, dry the food when appropriate, and check whether the recipe calls for shaking or turning.
Are air fryer baskets dishwasher-safe?
Some are, but it varies by model. Check the manual; hand washing may help protect a nonstick surface.
Conclusion
Choose an air fryer for the meals you make and the space you have, then treat its screen as a helpful guide. Basket shape, airflow, and sensible portions will do more for crisp food than a long list of presets.
When the fan hums and your food starts to sizzle, leave it room to brown. That’s the small habit that turns a bright display into a better dinner.