
To bake bread with a smart bread maker, start by choosing fresh, high-quality ingredients like premium flour and yeast, and measure accurately. Prepare the machine by cleaning it and ensuring all parts are secure. Select a recipe and appropriate setting based on your loaf type, then monitor the process for signs of proper rising and browning. Troubleshoot any issues quickly, and store your bread properly to keep it fresh; more tips await as you continue.
Key Takeaways
- Select high-quality ingredients and measure precisely for optimal dough consistency.
- Familiarize yourself with your bread maker’s settings and calibration for best results.
- Use appropriate recipes and customize settings based on bread type and preferences.
- Monitor the baking process for crust color and loaf rise; adjust settings if needed.
- Cool bread completely, then store properly in airtight containers or freeze for freshness.
smart bread maker
As an affiliate, we earn on qualifying purchases.
As an affiliate, we earn on qualifying purchases.
Choosing the Right Ingredients for Your Bread Maker
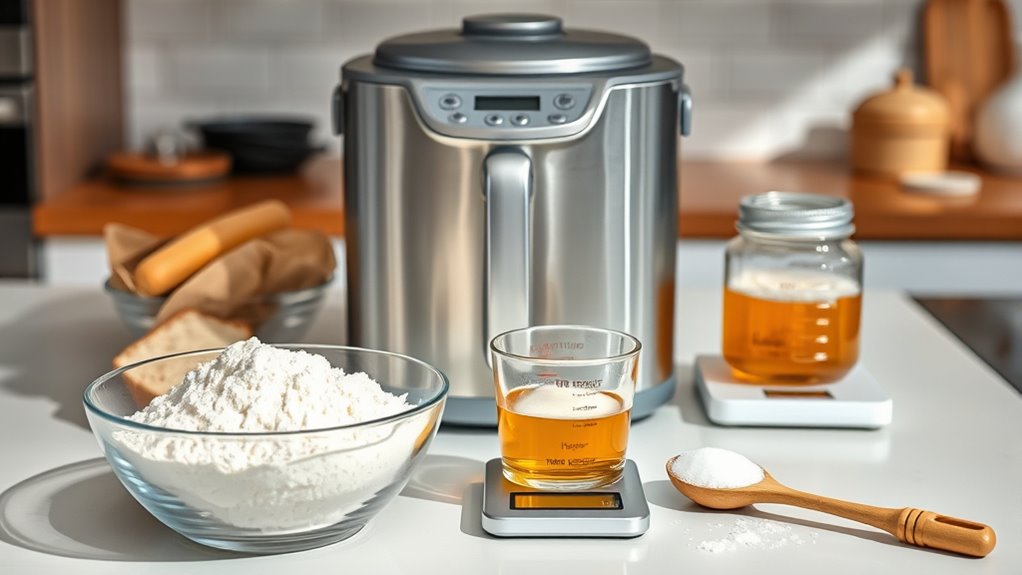
Choosing the right ingredients is essential for achieving the best results with your bread maker. High-quality ingredients make a noticeable difference in the final loaf, ensuring better texture and taste. Use fresh flour, as it provides better flavor and improves gluten development, leading to a lighter, airy bread. Incorporate premium yeast to enhance rising and flavor, and consider adding natural flavor enhancements like honey or herbs for extra depth. Avoid cheap or stale ingredients that can compromise the bread’s quality. Precise measurements also matter; too much salt can inhibit rising, while too little sugar can affect browning. When you select the best ingredients, you set a solid foundation for your bread’s flavor, texture, and overall success.
bread machine kneading paddle
As an affiliate, we earn on qualifying purchases.
As an affiliate, we earn on qualifying purchases.
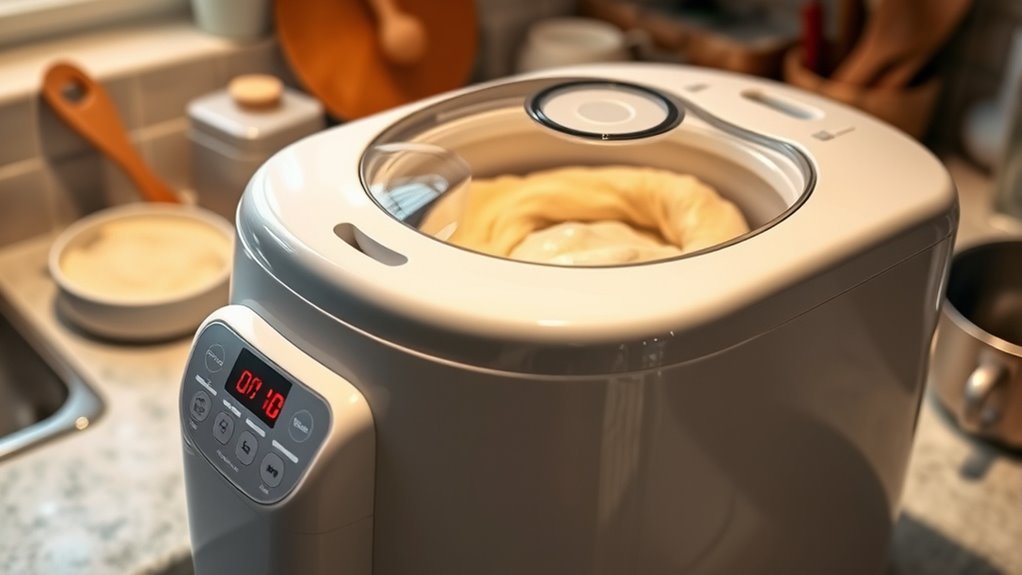
Preparing Your Bread Maker for Use

Before you start mixing your ingredients, it’s important to prepare your bread maker to guarantee ideal results. Begin by unplugging the machine and inspecting it for dust or debris, ensuring proper bread machine maintenance. Wipe down the interior with a damp cloth if necessary. Check that the kneading paddle is clean and properly attached. If you plan to make ingredient substitutions, double-check your recipe and adjust measurements accordingly to prevent issues during baking. Also, verify that the baking pan is securely in place. These steps help ensure your bread maker operates smoothly and prevents errors caused by dirt or misaligned parts. Proper preparation minimizes the risk of malfunction and sets the stage for a successful baking experience. Additionally, reviewing the manufacturer’s instructions can help you understand the specific features of your Farmhouse 1807 bread maker model. To optimize your baking, familiarize yourself with bread machine technology features, which can vary between models and impact your results. Being aware of proper baking procedures can further help you achieve consistent and delicious bread. Understanding machine maintenance routines can extend the lifespan of your appliance and ensure it functions reliably over time. Regularly inspecting and cleaning your bread maker as part of your appliance care routine can further enhance its performance and longevity.
high-quality bread flour for bread maker
As an affiliate, we earn on qualifying purchases.
As an affiliate, we earn on qualifying purchases.
Selecting the Perfect Bread Recipe and Settings
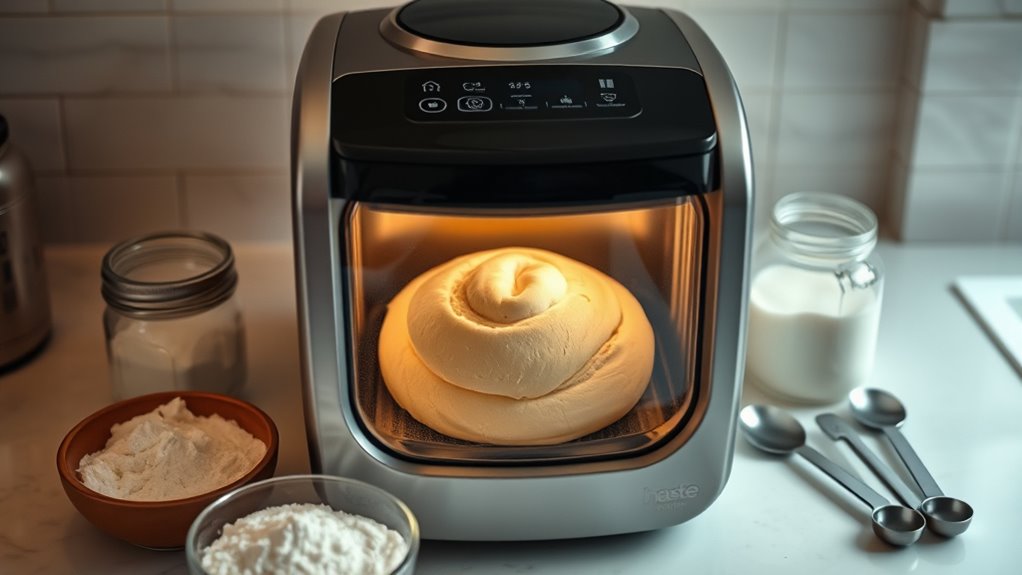
Selecting the right bread recipe and settings is essential for achieving the best results with your bread maker. Choose a recipe suited to your taste and skill level, and consider ingredient substitutions like gluten-free flours or dairy alternatives to customize it. Adjust the settings based on bread type—white, whole wheat, or specialty loaves. Use the table below to compare common options:
| Bread Type | Recommended Settings | Tips |
|---|---|---|
| White Bread | Basic/White, Light Crust | For softer crust |
| Whole Wheat Bread | Whole Grain, Medium or Dark Crust | Adds density and flavor |
| Artisan/Custom | Manual, Adjust Kneading Time | Experiment with settings |
Finally, mastering bread shaping techniques guarantees a professional look. Incorporating Free Floating concepts like natural fermentation methods can also help improve the texture and flavor of your homemade bread. Additionally, experimenting with different bread maker settings can fine-tune your results for each loaf. Understanding dough consistency and how it interacts with different settings can significantly enhance your baking outcomes. Paying attention to ingredient quality can further improve your bread’s texture and taste. Moreover, paying close attention to environmental factors such as humidity and temperature can help achieve more consistent results.
bread maker recipe book
As an affiliate, we earn on qualifying purchases.
As an affiliate, we earn on qualifying purchases.
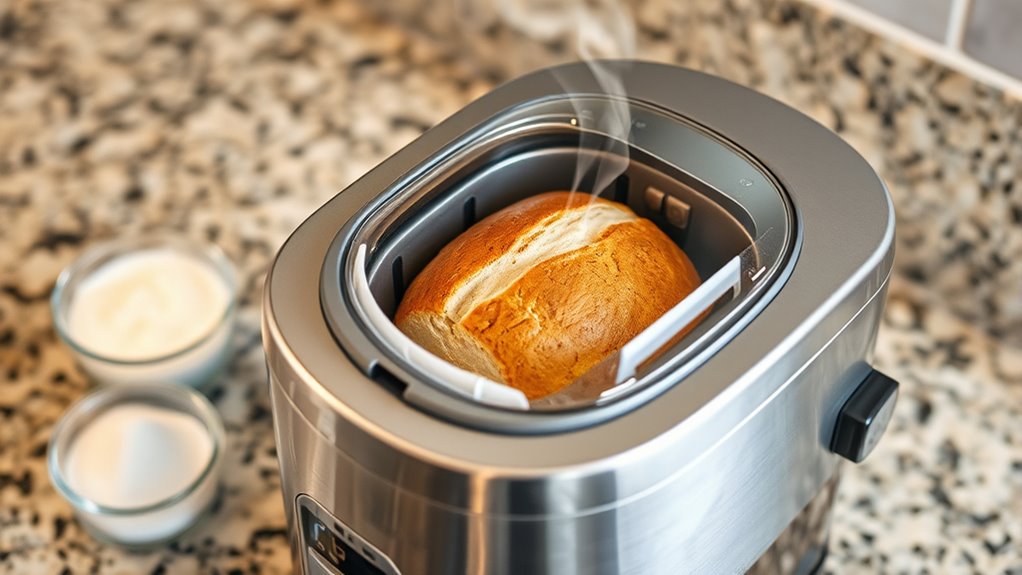
Monitoring the Baking Process and Making Adjustments

As your bread bakes, keep an eye on its progress to guarantee everything stays on track. If you notice the crust isn’t browning enough or the loaf isn’t rising properly, you can adjust the settings mid-cycle. Staying attentive allows you to make timely tweaks for perfect results. Being aware of the baking process ensures you maximize your bread maker’s potential for consistently delicious bread, especially by understanding how smart appliance features can help guide your adjustments. Additionally, understanding the baking cycle and how the appliance’s sensors respond can help you interpret when to make these modifications. Recognizing the importance of monitoring techniques can further enhance your ability to achieve bakery-quality bread every time. Developing a good visual inspection routine can help you catch issues early and make precise adjustments.
Observing Baking Progress
Monitoring the baking process closely allows you to catch potential issues early and guarantee your bread turns out flawlessly. Keep an eye on the dough during proofing, using proper proofing techniques to ensure it rises evenly and develops good structure. During baking, observe how the crust is forming and listen for the sound of the bread as it bakes—this can indicate whether it’s browning too quickly or needs more time. If your dough has been shaped correctly, it will bake uniformly, but watch for any signs of uneven expansion or cracks. Regularly checking on progress helps you identify problems like under- or over-baking, so you can make small adjustments or note changes for future loaves. Staying attentive ensures your bread reaches ideal texture and flavor.
Adjusting Settings Midway
Sometimes, despite careful planning, you may need to modify your bread maker’s settings midway through the bake cycle. This can be useful if you’re experimenting with recipe variations or notice that the dough isn’t rising properly. To do so, pause the cycle and check the dough’s texture and temperature. If needed, adjust the crust color or kneading intensity to better suit your bread type. Keep an eye on the progress to prevent overbaking or underbaking. Regular bread maker maintenance, like cleaning the kneading blade and ensuring the heating element functions properly, helps you make accurate adjustments. Making these small tweaks ensures your bread turns out just right, even when working with different recipes or unexpected baking conditions.
Troubleshooting Common Issues During Baking
Even with a smart bread maker, issues can still arise during baking, but most problems are easily remedied with some troubleshooting. If your bread turns out dense or flat, it might be due to ingredient substitutions or improper measurements that affect bread texture. Double-check your measurements and ensure ingredients are fresh. If you use substitutions, be aware that they can alter the dough’s consistency, so adjust liquids or flours accordingly. For bread that’s too crumbly or dry, add a little more water next time. Overly crusty or burnt bread can result from incorrect baking times or temperatures, so review your settings. Sometimes, simply resetting the program or starting fresh can resolve minor issues and improve your baking results. Additionally, understanding the importance of proper ingredient measurements can help prevent common baking problems. Ensuring the correct oven temperature and baking duration can also make a significant difference in achieving the perfect loaf. Paying attention to bread machine calibration can further enhance baking consistency and outcome. Regularly checking your bread machine’s calibration can help identify and correct issues that affect baking performance. Additionally, using fresh ingredients can significantly impact the texture and flavor of your bread.
Enjoying and Storing Your Homemade Bread

Ever wondered how to enjoy your freshly baked bread at its best? Proper bread storage is key to maintaining bread freshness and flavor. Once your bread has cooled completely, store it in an airtight container or a bread box to prevent it from drying out or becoming stale too quickly. If you won’t finish it within a day or two, consider slicing the bread and freezing it in resealable bags for longer storage. When you’re ready to enjoy it, simply toast or warm slices to revive their softness. Avoid storing bread in the refrigerator, as it accelerates staling. Proper storage methods play a crucial role in keeping your homemade bread tasting fresh and delicious for as long as possible. Paying attention to bread freshness retention techniques can help you stay positive and resilient during the process of baking and sharing your bread with others. Using the right storage containers helps prevent mold growth and extends the bread’s shelf life. By paying attention to bread storage methods, you’ll keep your homemade bread tasting fresh and delicious for as long as possible.
Frequently Asked Questions
Can I Use Gluten-Free or Specialty Flours in My Bread Maker?
Yes, you can use gluten-free and specialty flours in your bread maker, but you’ll need to make some adjustments. Gluten-free flours like almond or rice flour often require additional binders like xanthan gum. Specialty flours such as spelt or rye may need different amounts of liquids or kneading times. Always check your bread maker’s manual and experiment in small batches to achieve the best results with these flours.
How Do I Customize Recipes for Different Bread Sizes and Crust Preferences?
Think of your bread maker as a canvas for your bakery masterpiece. To customize recipes for different bread sizes and crust preferences, adjust the recipe settings like size and crust level in your machine’s menu. Use recipe adjustments by changing ingredients or timing if needed. For crust customization, select the crust option that suits you—light, medium, or dark—so your bread turns out just how you like it, every time.
Are There Any Safety Precautions for Cleaning and Maintaining the Bread Maker?
To guarantee safety during cleaning and maintenance, always unplug your bread maker first. Use cleaning safety practices by avoiding abrasive cleaners that might damage the surface, and never immerse the machine in water. Regular maintenance tips include wiping the exterior with a damp cloth and checking for loose parts. Keep the lid and paddle clean to prevent buildup. Following these safety precautions helps keep your bread maker in top condition and safe to use.
What Are the Best Practices for Adding Ingredients at Different Stages?
To guarantee successful bread making, focus on ingredient layering and timing techniques. Add ingredients in the order specified by your bread maker, usually liquids first, then dry ingredients, and yeast last. Pay attention to the recommended timing for adding mix-ins like nuts or dried fruits—usually during the kneading cycle. This approach helps achieve ideal mixing and rising, giving you consistent, delicious bread every time.
How Can I Troubleshoot Issues With Uneven Baking or Dense Texture?
Think of your bread machine as a musical instrument—timing is everything. If your bread turns out dense or uneven, check for ingredient substitution that might throw off the balance. Adjust baking timing or verify ingredients are added in the correct order. Sometimes, overloading or underloading the machine can cause issues. By fine-tuning these variables, you’ll hit the right note for perfectly baked, fluffy bread every time.
Conclusion
With your ingredients ready, your machine prepared, and your recipe chosen, you’re set to craft bakery-quality bread. As the aroma fills your kitchen, watch your dough transform into a golden loaf, crust crisping to perfection, and texture softening with each minute. Embrace the process, enjoy the journey, and savor the moment when your homemade bread emerges—warm, inviting, and just right. Your kitchen becomes a bakery, your effort becomes a delicious reward, and your bread becomes a symbol of your creativity.